Toggle navigation
Home
Products
Blueinput
for Android
BlueMusic
for Android
Screen Shot
for Android
ScannerPDF
for Android
About Us
Portfolio
See some of our work
Technologies
We develop
Contact Us
Send us a message
Mobile applications
+10Y in software development
Innovative technologies
Our apps are targeting the mobile devices market. Providing advanced solutions to everyday problems, we bring the future closer to you. You'll be amazed to see what we can do with your smartphone.
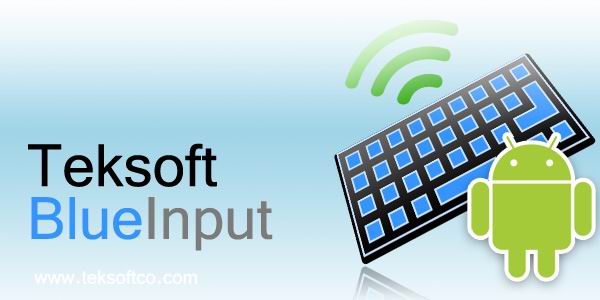
Blueinput
Connect a bluetooth keyboard or mouse to your mobile device
BlueMusic
Using your Bluetooth headsets to listen to audio content has never been so easy!
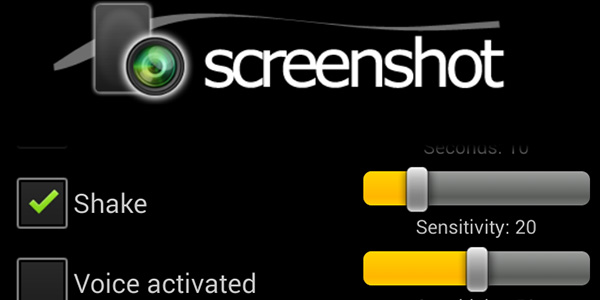
Screen Shot
A tool for grabbing the screen of your Android device.
ScannerPDF
Use your phone as a scanner and save paper!